Imagination
I think most people have imagined themselves as something or another at one point in time. In the past the required knowledge or skills to bring this into art were far greater than my talents and will to learn. So generally I would ask artistic friends and pay them for their services. Unfortunately for them those days are disappearing with the advent of LLMs and generative AI. Now I would never say that it can completely replace any artist, the datasets have to come from somewhere and from what I’ve seen often the generated art can still lack a bit of “Soul” for a lack of a better word. Either way as a curious person I wanted to have a go with these image generation models. I experimented a bit with it in the past when stable diffusion first hit the zeitgeist but it wasn’t as accessible as I wanted yet. Of course there were options to use various “Apps” but those often involved giving your private pictures and details to various companies and developers somewhere around the world. Instead I wanted to do it locally. In this blog I will link to the helpful posts I used which started my experimentation with stable diffusion.
Where to start?
The general idea I had was that I wanted to train a small “LoRa” (Low rank adaptation) with a few pictures of myself and then use that to guide stable-diffusion to generate something looking like me. I got this idea when I originally came across this blog post about self portraits with stable diffusion. This one mostly details how to do it with online tools - which I didn’t want to use - so I went to look for something else but kept the usual information from the blog of course!
The generation UI: automatic1111
First and foremost, this is not the only UI out there, it’s just the one I used. I used the great tutorial from stable-diffusion-art.com to set up the generation UI called “automatic1111”. It requires some dependencies to be set like Python 3.1 up but generally the installation is fairly easy. After installation you should be able to run the webgui and go to it via localhost:7860 as shown in the CMD.
Training your LoRa
Before I could train the LoRa I took a variety of selfie pictures in about the same lighting. Basically only left, right and center looking pictures. It might give better results if you also do upward and downward looking pictures but I forgot to do that. Once that was done I used the blogpost from techtactician to learn how to use kohya gui to train my own LoRa. After that is done you can start using it with automatic1111.
Generating some images
While trial and erroring my way across my first image generations I read through some pages on the prompthero website and after some back and forth had my first few successes with prompts like “a digital drawing of a man <lora:Portrait_self_model:1>”, there are many ways to start a prompt but generally the idea is to keep in mind the most important things come first. It can be declarative or just a comma separated list of things. Just iteratively keep adding thing and generating a few pictures to learn what it changes.
Using your LoRa
If you’re like me and couldn’t figure out how to add the LoRa to automatic1111, here is a useful link.
Trying different models
After experimenting a bit with the base stable diffusion model I wanted to have a look at other more specialised version of stable diffusion. The most popular website I had heard of was civitai. People upload various “checkpoints” there which you can download and add to your stable diffusion installation. Once installed and moved to the “stable-diffusion-webui\models\Stable-diffusion” folder wherever you decided to install automatic1111. You will then be able to select the model in the top left corner of the web UI.
Some examples
To show you the progression of my first experiments I’ll add a few of them here.
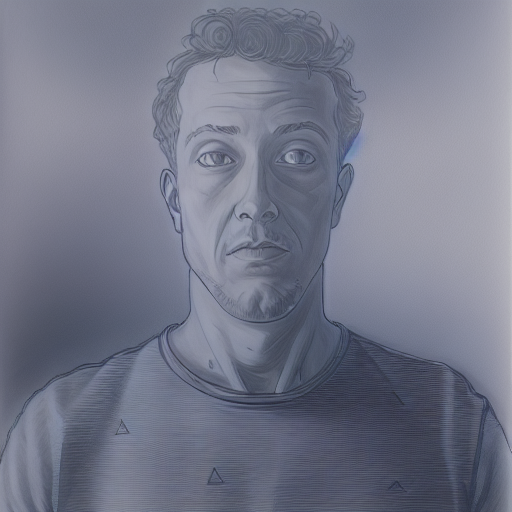
First something like “a drawing of a man” with some modifications.

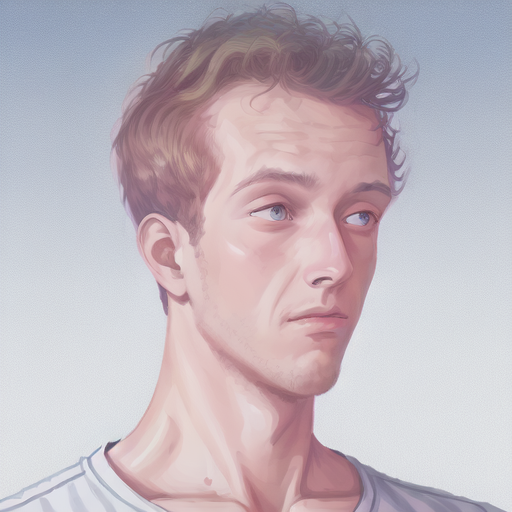
Something along the line of “a digital drawing of a man”

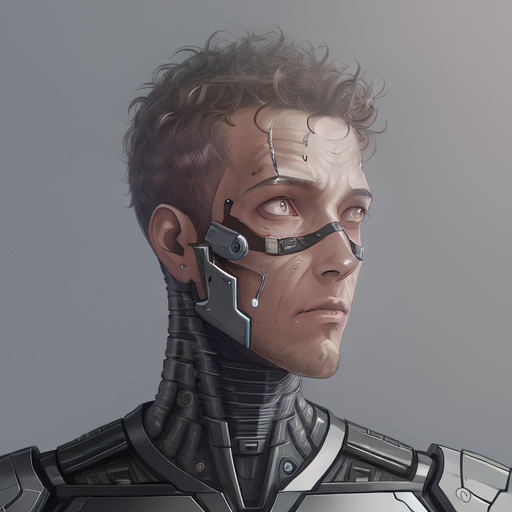
This last one I got to with the following prompt: “digital painting of a man as deus ex cyborg, <lora:Portrait_self_model:1>” and this model.

Time for more experimentation
It’s actually quite fun to get the right combination of prompts working out alright, that combined with all the possible settings that can be tweaked means there is a lot more to try! Hopefully this blog will help you get a kickstart with stable-diffusion.